When it comes to drawing a hoodie, one might wonder how to capture its unique shape and style in a realistic and compelling way. Hoodies, with their iconic hoods and cozy design, have become a popular fashion staple in recent years. But what techniques can be used to accurately depict the folds, shadows, and details that make a hoodie stand out?
To draw a hoodie effectively, it's essential to understand the structure and anatomy of the garment. By learning about the different types of hoods, the way fabrics drape and fold, and the way light interacts with the material, artists can bring their hoodie designs to life. Whether you're drawing a hoodie for a fashion illustration or creating character concepts, mastering the art of drawing a hoodie enables you to infuse your artwork with a sense of style and realism that is sure to captivate your audience.
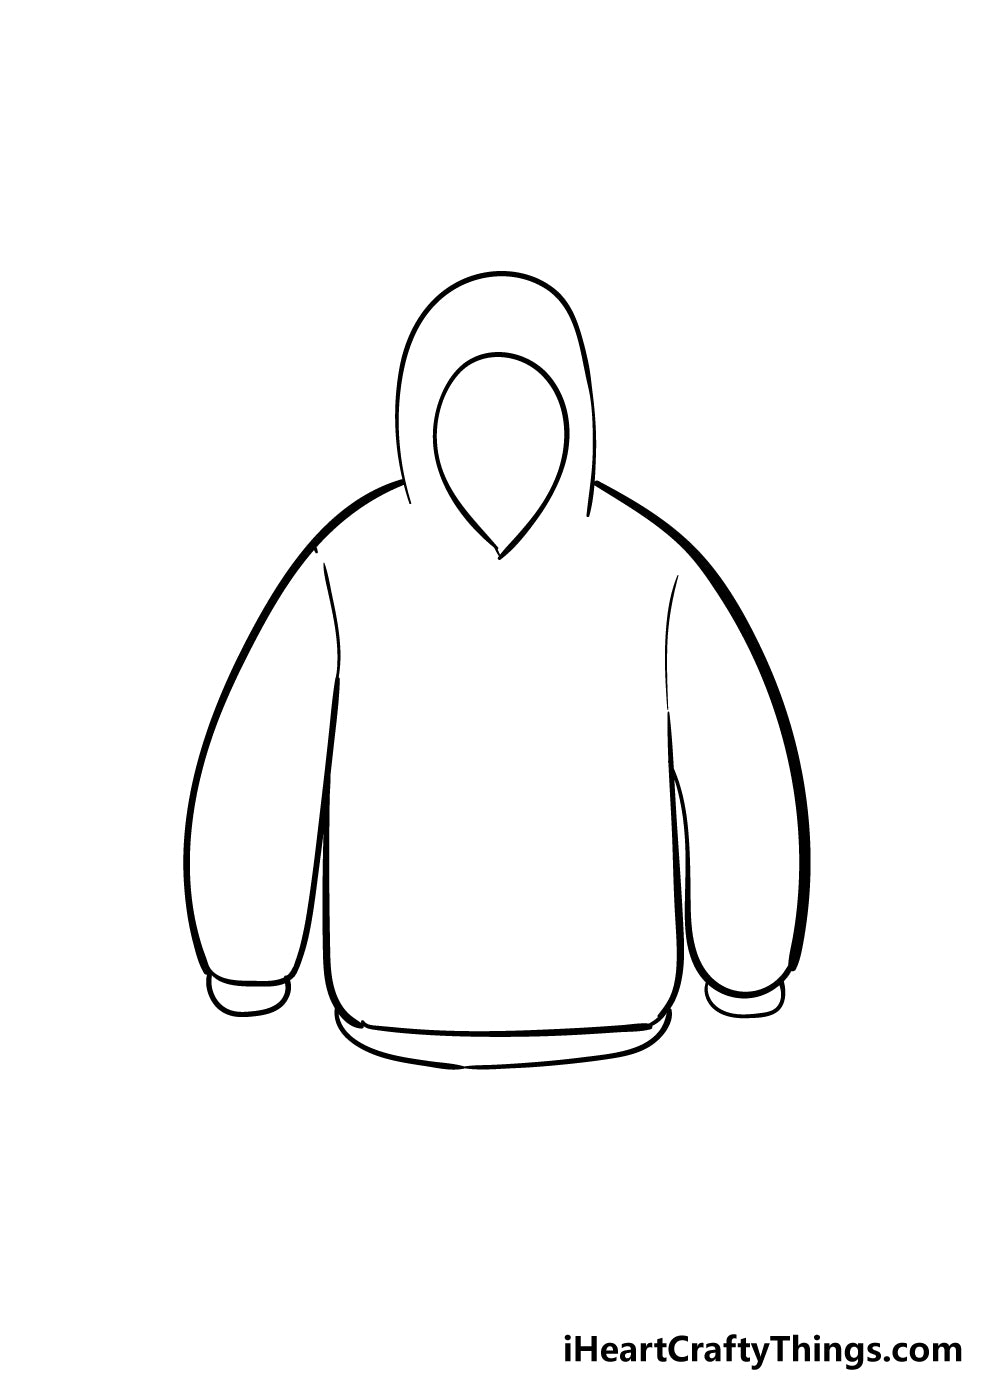
To draw a hoodie, follow these steps for a professional touch:
- Start by drawing the basic shape of the body and head.
- Add the hood outline, making sure to keep it slightly oversized.
- Sketch the sleeves of the hoodie, ensuring they are the right length and width.
- Draw the details such as the cuffs, pockets, and zipper (if applicable).
- Refine your drawing by adding shading, highlights, and texture to make it more realistic.
Understanding the Anatomy of a Hoodie
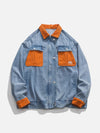
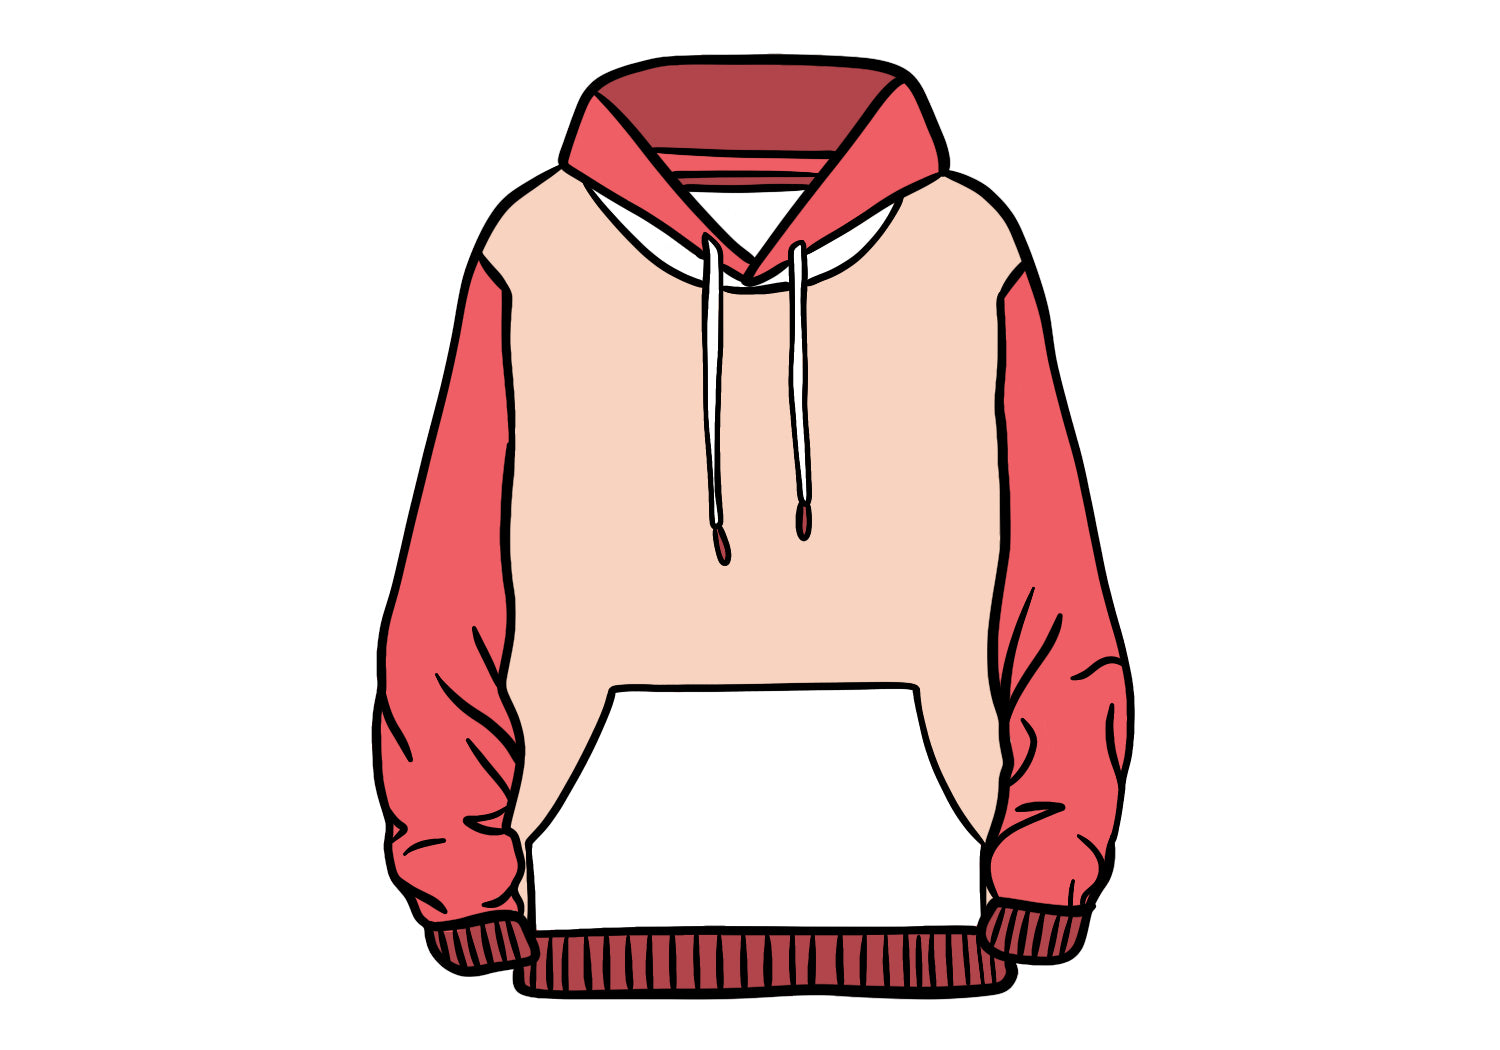
To draw a hoodie realistically, it is important to understand its structure and anatomy. A hoodie is a garment that typically consists of a sweatshirt with a hood attached at the back. The hood provides coverage for the head and can be adjusted with drawstrings. The main body of the sweatshirt is usually loose-fitting and has long sleeves. Additionally, hoodies often have a front pocket or kangaroo pocket, which is a pouch-like pocket located at the lower front of the hoodie.
In terms of proportions, the hood of a hoodie is usually larger than the head it covers, creating a slouchy appearance when not being worn. The length of the overall hoodie can vary, ranging from waist-length to hip-length. The sleeves should have a slightly tapered fit, while the main body should have a comfortable, relaxed fit. Understanding these anatomical features will help you accurately depict a hoodie in your drawing.
Now that we have a basic understanding of the hoodie's anatomy, let's explore different techniques and tips for drawing a hoodie realistically.
Choosing the Right Reference
When drawing a hoodie, it can be helpful to have a reference image to guide you. Look for reference photos that show various angles of the hoodie, such as front view, back view, and side view. This will allow you to understand the folds, creases, and overall shape of the hoodie better.
In addition to reference images, it can also be beneficial to observe how hoodies interact with the human form in real life. Pay attention to how the fabric drapes and folds when a person is wearing a hoodie. This observation will give you insights into how to create a realistic representation in your drawing.
Remember, using references doesn't mean copying directly. It is about studying the details and incorporating them into your own unique drawing style.
Sketching the Basic Structure
The first step in drawing a hoodie is to sketch the basic structure. Start by outlining the shape of the head and the position of the shoulders. Then, draw a rough outline of the hood by visualizing how it would drape over the head.
Next, sketch the main body of the hoodie, considering the length and fit you want to portray. Remember to leave enough room for the sleeves and the front pocket if you plan to include them. Keep the lines loose and light, as these are just the initial guidelines for your drawing.
Once you have the basic structure in place, you can start adding details to make the hoodie more realistic.
Adding Folds and Texture
Folds and texture are essential for bringing a hoodie to life in your drawing. Hoodies are typically made of soft, stretchy fabric, which creates unique folds and wrinkles when worn.
To create folds, start by identifying areas where tension or compression occurs, such as the elbows, where the arms bend, or the waistband. Use curved lines to depict these folds, paying attention to the direction of the fabric's stretch.
In addition to folds, you can also add texture by suggesting the texture of the fabric. For example, if the hoodie is made of fleece, you can use short, curved strokes to represent the fuzzy texture. Experiment with different techniques to find the best way to depict the texture.
Remember to observe reference images or study real-life hoodies to understand how the fabric behaves and where the folds and wrinkles are likely to occur.
Highlighting and Shading
To make your hoodie drawing more realistic, it is important to add highlights and shadows. This will give depth and dimension to your artwork.
Identify the light source in your drawing and imagine where the light would hit the hoodie. Use lighter tones or leave areas blank to indicate the highlights. Pay attention to the folds and contours of the hoodie, as they will determine where the light and shadows fall.
For shading, use darker tones or cross-hatching techniques to create a sense of depth. Build up the shadows gradually, considering the areas that would be in shadow or less exposed to light.
Details and Finishing Touches
Once you have the basic structure, folds, and shading in place, you can add details to enhance the realism of your hoodie drawing. Pay attention to small elements like the drawstrings, the zipper if present, or the stitching details.
If you're drawing a graphic or logo on the hoodie, take your time to replicate the details accurately. You can use a finer pen or pencil to achieve precision.
Finally, review your drawing as a whole and make any necessary adjustments or additions to ensure that it captures the essence of a hoodie.
Practice and Experiment
Drawing a hoodie realistically takes practice and experimentation. Don't be afraid to try different techniques, vary the fabric textures, or explore different hoodie styles. The more you practice, the better your hoodie drawings will become.
Experiment with different drawing materials as well. The texture and effects you can achieve with charcoal, colored pencils, or digital tools may offer new possibilities for your hoodie drawings.
Remember that each hoodie is unique, and there is no "right" way to draw a hoodie. Use your creativity to bring your own style and interpretation to your artwork.
Understanding Different Hoodie Styles
When it comes to drawing hoodies, it's important to understand the different styles available. This knowledge will allow you to accurately depict the specific style you have in mind.
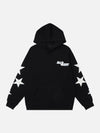
Pullover Hoodie
A pullover hoodie, also known as a hoodie without a zipper, is a classic style that slips over the head. To draw a pullover hoodie, follow the steps outlined earlier, paying attention to the hood, sleeves, and overall fit of the garment.
When drawing a pullover hoodie, add details such as the ribbed cuffs and waistband. Take note of how the fabric drapes over the body, creating folds and wrinkles in certain areas.
Remember, the aim is to capture the essence of the pullover hoodie while adding your own artistic interpretation.
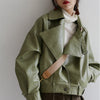
Zip-Up Hoodie
A zip-up hoodie has a zipper down the front, allowing for easy wearing and removal of the garment. When drawing a zip-up hoodie, start by sketching the zipper line in the center of the front body.
Pay attention to the zipper details, such as the pull tab or the metal teeth. These details can add realism to your drawing. Additionally, consider how the fabric flaps or folds around the zipper area when the hoodie is open or closed.
Don't forget to include other elements like the drawstrings and the front kangaroo pocket, if applicable.
Hoodie with a Collar
Some hoodie styles feature a collar that extends above the hood. This collar can add a unique design element to your drawing. When drawing a hoodie with a collar, ensure that the collar shape is distinct and clearly visible.
The collar may have different styles, such as a cowl neck or a shawl collar, which can affect the overall appearance of the hoodie. Pay attention to how the collar interacts with the hood and the rest of the garment.
Remember to capture the folds, wrinkles, and shading to bring out the collar's three-dimensional shape.
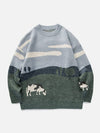
Crop Hoodie
A crop hoodie is a shorter version of the standard hoodie, usually ending above the waist or at the midriff. When drawing a crop hoodie, focus on the proportions to highlight the cropped length of the garment.
Sketch the basic structure of the crop hoodie, making sure to shorten the body length accordingly. Pay attention to how the sleeves and the hood interact with the cropped body.
Since a crop hoodie exposes more skin, you may want to pay extra attention to the contours of the body and the folds created by the fabric.
Experimenting with Colors and Patterns
While hoodies are often associated with solid colors, it can be fun to experiment with different colors and patterns to make your hoodie drawing stand out.
Color Variations
When selecting colors for your hoodie drawing, consider the fabric type. For example, a cotton hoodie may have a matte appearance, while a fleece hoodie may have a slightly glossy or textured look.
Experiment with different color combinations to create contrast or harmony within your drawing. Take into account how the colors interact with the highlights and shadows, and how they enhance or complement the overall mood of the artwork.
Remember to observe real-life hoodies or reference images to understand how different colors can affect the appearance and style of a hoodie.
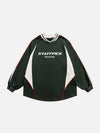
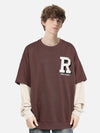
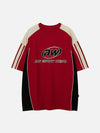
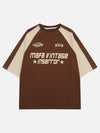
Patterned Hoodies
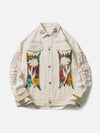
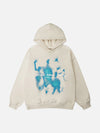
In addition to solid colors, you can also experiment with patterns to add visual interest to your hoodie drawing. Patterns such as stripes, plaid, or even graphic designs can make a hoodie stand out.
When drawing patterned hoodies, use light sketching lines to map out the pattern before finalizing it with darker and more defined lines. Pay attention to how the pattern aligns with the folds and contours of the hoodie.
By introducing patterns, you can add an extra layer of complexity to your hoodie drawing and showcase your creativity.
In Conclusion
Drawing a hoodie requires a combination of understanding the hoodie's anatomy, practicing essential techniques, and experimenting with different styles, colors, and patterns. By following the steps outlined in this article and using references for guidance, you can create realistic and visually appealing hoodie drawings. Remember to have fun, be creative, and develop your own unique style along the way.
A Step-by-Step Guide on Drawing a Hoodie
Drawing a hoodie can be a fun and creative process. Here is a step-by-step guide to help you draw a realistic hoodie:
- Start by sketching the outline of the hoodie using light pencil lines. Pay attention to the proportions and shape of the hoodie.
- Add details to the hoodie, such as the zipper, pockets, and drawstrings. Look at reference images or observe real hoodies for accuracy.
- Outline the edges of the hoodie using bold strokes to define the shape and give it a three-dimensional appearance.
- Add shading to the hoodie to create depth and texture. Use light and dark tones to show folds, creases, and shadow areas.
- Once you are satisfied with the basic structure and details, erase any unnecessary lines and refine the drawing.
- Finish the drawing by adding additional details, such as logos, patterns, or designs on the hoodie.
Remember to practice regularly and experiment with different styles to improve your hoodie drawing skills. With patience and dedication, you can create stunning hoodie illustrations.
Key Takeaways: How To Draw A Hoodie?
- Start with a basic outline of the hoodie's shape using simple geometric shapes.
- Add details like the hood, sleeves, and pockets to your drawing.
- Remember to show folds and creases in the fabric to make your hoodie look more realistic.
- Play around with shading and highlights to give your hoodie depth and dimension.
- Experiment with different colors and patterns to customize your hoodie design.
Frequently Asked Questions
Are you looking to learn how to draw a hoodie? Here are some commonly asked questions about drawing hoodies and their answers:
1. What are the key elements to consider when drawing a hoodie?
When drawing a hoodie, it's important to pay attention to the key elements that make it unique. Start by outlining the overall shape and size of the hoodie, including the hood and the front pockets. Next, add details such as the drawstrings, zipper or buttons, and any logos or designs on the hoodie. Lastly, make sure to give the hoodie a sense of volume and texture by shading and adding folds and wrinkles where necessary.
Remember to observe real-life hoodies or reference images to get a better understanding of their structure and how they drape on the body. Practice drawing different styles of hoodies to improve your skills and create realistic and appealing illustrations.
2. What are some tips for drawing a hoodie from different angles?
Drawing a hoodie from different angles can be challenging, but with some practice and guidelines, you can achieve great results. Here are a few tips:
- Start by drawing a basic head shape and finding the centerline. This will help you position the hoodie on the head correctly.
- When drawing the front view, pay attention to the proportions and ensure both sides are symmetrical. Add details like the opening of the hood and the front pockets.
- For a side view, remember that the hoodie will wrap around the head and cover part of the face. Show this by drawing the outline of the hood and the side seams.
- When drawing the back view, focus on capturing the shape of the hood and any details like logos or designs on the back. Pay attention to the folds and wrinkles at the back of the hoodie.
3. How can I add texture and depth to my hoodie drawing?
Adding texture and depth to your hoodie drawing will make it look more realistic and visually interesting. Here are some techniques you can use:
- Use shading to create the illusion of volume and the way light falls on the hoodie. Pay attention to areas where shadows would naturally occur, such as folds and creases.
- Add details like stitches, seams, and patterns on the fabric to enhance the texture of the hoodie. These small elements can make a big difference in the overall appearance.
- Experiment with different drawing tools and techniques. You can use cross-hatching, stippling, or blending to create different textures and effects.
Remember to study references and observe how real hoodies look to get a better understanding of how to add texture and depth to your drawings.
4. Should I sketch the outline of the body before drawing the hoodie?
Sketching the outline of the body before drawing the hoodie can help you position the hoodie correctly and ensure that it fits well on the figure. However, it is not necessary to draw every detail of the body. Instead, focus on sketching simple shapes that represent the head, neck, and shoulders.
Having a basic body outline will provide a reference point for drawing the hoodie and help you maintain proportions and symmetry. It will also allow you to visualize how the hoodie interacts with the body and make adjustments if needed.
5. How can I make my hoodie drawing more unique and creative?
If you want to make your hoodie drawing more unique and creative, here are some ideas:
- Experiment with different styles and designs. You can add your own patterns, colors, and details to make the hoodie stand out.
- Incorporate other elements, such as accessories or a background, to enhance the overall composition of your drawing.
- Use different drawing techniques or mediums to create interesting effects, such as using watercolors or markers.
- Take inspiration from fashion trends or personal experiences to add a personal touch to your hoodie drawing.
Mastering the art of drawing a hoodie starts with understanding the basic principles of its structure. By breaking down the elements into simple shapes, you can create a realistic and detailed hoodie in your drawings. Remember to start with the overall shape of the hood, then add in the details such as drawstrings and pockets.
One key aspect of drawing a hoodie is capturing the folds and creases of the fabric. Pay close attention to how the fabric drapes and folds around the body, and use shading techniques to give your drawing depth and dimension. Remember to practice regularly and experiment with different styles and poses to enhance your skills as an artist.